
Welcome! If you’ve ever wanted to build your own WordPress website but didn’t know where to start, you’re in the right place. We’ve created a 3-part beginner series that will guide you from the very basics all the way to creating engaging content and maintaining your site.
In this first part, we’ll focus on the foundation: getting your domain name, choosing the right web hosting, installing WordPress, and setting up your site with the basic settings and a theme. By the end of this blog, you’ll have your website installed and ready to customize.
Whether this is your very first website or you’re looking to refresh your skills, this series will make the process simple, step-by-step, and easy to follow.
Before You Begin, Here’s What You Need
Before diving into building your WordPress website, there are a few essential things you’ll need in place. In this section, we’ll cover two crucial components: a domain name and web hosting. Let’s break down each of these so you know exactly what to look for and how to get started.
Domain Name

Your domain name is your website’s address on the internet. It’s what people type into their browser to visit your site. Choosing the right domain name is important because it represents your online identity and can impact your website’s success.
Domain Name Options
Here are some tips for selecting the perfect domain name:
- Keep it short and memorable: Aim for a domain name that’s easy to remember and type. The shorter and simpler, the easier it will be for visitors to find and share your website.
- Use relevant keywords: If possible, include keywords related to your niche or industry. This helps people understand what your website is about at a glance.
- Choose the right extension: While .com is the most common, other options like .net, .org, or industry-specific extensions like .photography are also available. Pick the one that best fits your website’s purpose.
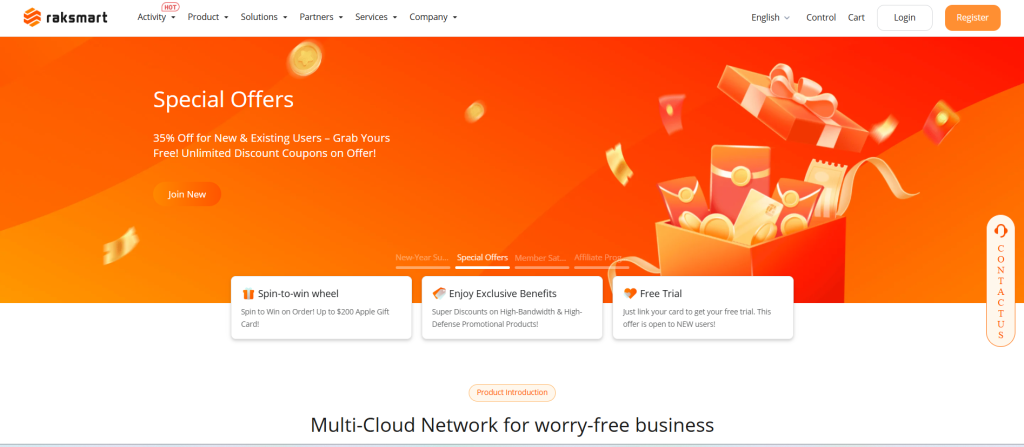
Tip: You can purchase a domain at RAKsmart starting from just $1 and even check if your preferred domain name is available directly on their platform—making it quick and easy to secure your website’s identity.
Web Hosting
Web hosting is the service that stores your website’s files and makes them accessible on the internet. Without hosting, your website simply can’t go live.
When building a WordPress website, choosing a reliable hosting provider is one of the most important decisions you’ll make. Performance, security, and scalability all depend heavily on your hosting environment.
Our Recommendation: RAKsmart Hosting
For website builders at any stage, RAKsmart is a strong choice. They offer a wide range of hosting solutions designed to support websites from their early stages all the way to large, high-traffic platforms.
With RAKsmart, you get:
- Stable and high-performance servers
- Flexible hosting plans for different website sizes
- Global BGP network for faster access speeds
- 24/7 technical support to help when issues arise
Whether you’re launching your first site or scaling an existing one, RAKsmart provides hosting options that grow with your website.
Types of Hosting to Consider (Website-Building Perspective)
As your website develops, your hosting needs will change. Below are three hosting options available at RAKsmart, explained from a website-building point of view.
VPS Hosting
VPS hosting is ideal for websites that are growing and need more resources and control.
- Suitable for business websites, blogs, and small eCommerce stores
- Handles higher traffic and more plugins smoothly
- Offers flexibility to adjust server resources as your site grows
RAKsmart’s VPS hosting is a great step up when your WordPress site starts demanding better speed, stability, and customization.
Dedicated Server
A dedicated server is designed for websites where performance and reliability are critical.
- Best for high-traffic websites and content-heavy platforms
- Provides consistent performance during traffic spikes
- Gives full control over server configuration and security
If your website plays a key role in your business, RAKsmart’s dedicated servers ensure your site remains fast, secure, and always available.
Bare Metal Server
Bare metal servers offer the highest level of performance for demanding websites.
- Ideal for enterprise-level websites or complex web applications
- No virtualization layer, resulting in faster response times
- Perfect for large databases, custom systems, or performance-critical sites
RAKsmart’s bare metal servers are best suited for websites that require maximum speed, stability, and full hardware-level control.
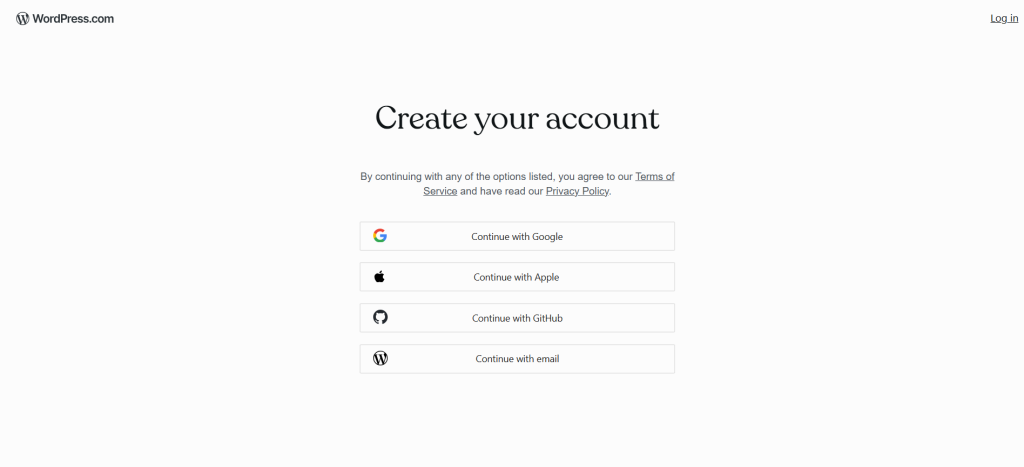
How to Download and Install WordPress
Once you’ve got your domain and hosting ready, it’s time to install WordPress.
Manual Installation
For users who want full control, manual installation is also an option.
Step-by-step guide:
- Download the latest WordPress version from wordpress.org.
- Create a MySQL database and user in your hosting control panel.
- Edit the wp-config-sample.php file with your database info and rename it wp-config.php.
- Upload WordPress files to your hosting account using FTP.
- Visit your domain in a browser and follow the installation instructions.
Logging in to Your WordPress Dashboard
After installation, log in at yourdomain.com/wp-admin using your credentials. You’ll now have access to your WordPress dashboard, where all customization and site management happen.
Configure Basic Settings
Next, let’s set up your website’s basic settings to ensure it runs smoothly.
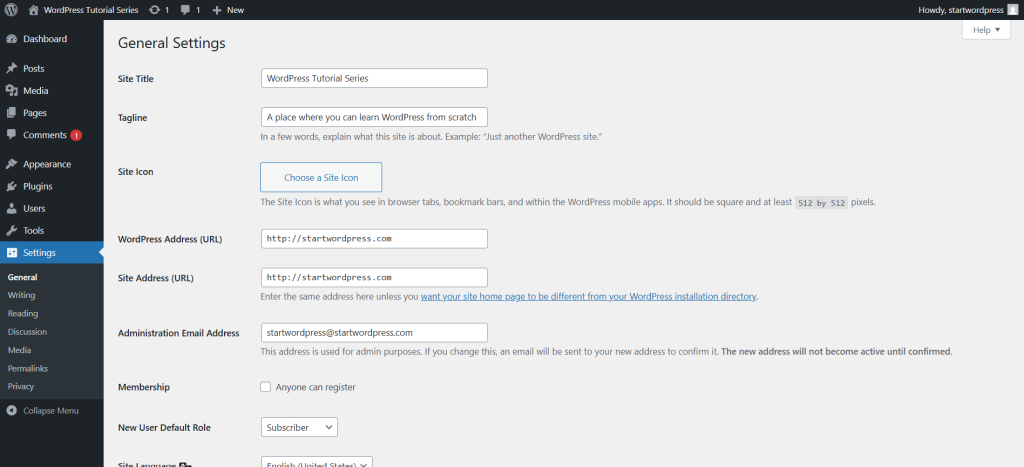
General Settings:
- Site title and tagline: Go to Settings > General to set these. They help define your website’s identity.
- Timezone, date, and time format: Ensure accuracy in posts and scheduling.
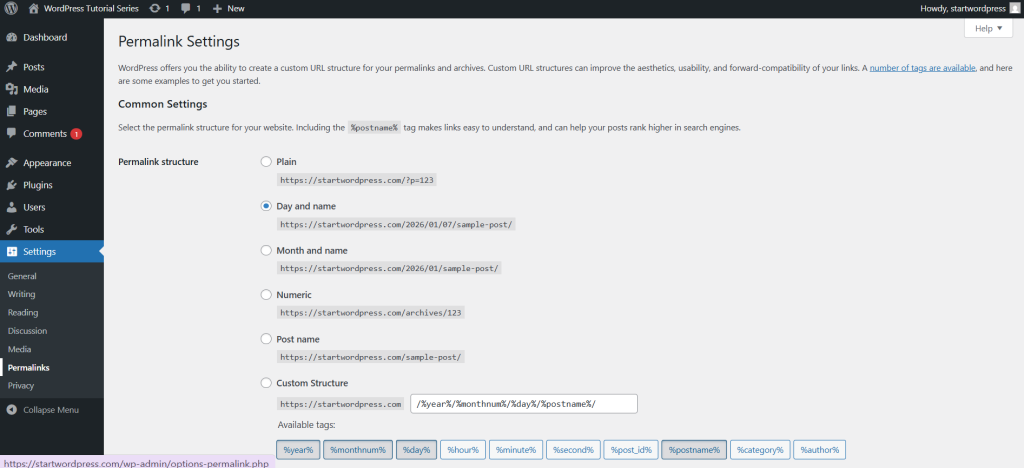
Permalinks:
SEO-friendly URLs are essential for both search engines and users. Go to Settings > Permalinks and choose Post name for clean and descriptive URLs.
Getting Familiar with the WordPress Dashboard: Your Starting Point
Once you’ve finished configuring the basic settings, congratulations 🎉 — you’re now officially inside the WordPress Dashboard, the main control center of your website.
This dashboard is where all website management happens. From creating content to changing your site’s appearance and installing plugins, everything starts here.
Understanding the Side Menu Functions
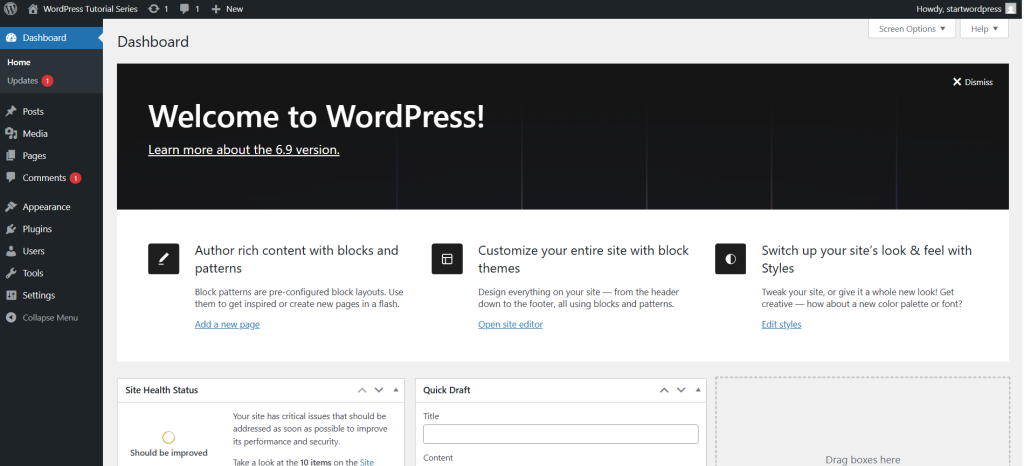
On the left-hand side of the dashboard, you’ll see a vertical menu. This side menu contains all the core tools you’ll use to build and manage your WordPress website, including:
- Posts: Create and manage blog articles
- Pages: Build static pages such as About Us or Contact
- Appearance: Control themes, menus, widgets, and overall design
- Plugins: Add new features like SEO tools, contact forms, or security
- Settings: Adjust site-wide configurations such as reading, discussion, and permalinks
At this stage, you don’t need to master everything at once. The key takeaway is simple:
👉 This dashboard is where you’ll return every time you work on your website.
Choosing and Installing a WordPress Theme
Now that you’re familiar with the dashboard layout and its main functions, the next step is to start shaping how your website looks.
This is where themes come in. Your theme controls your site’s design, layout, and overall user experience. In the next section, we’ll walk through how to choose and install a WordPress theme so you can begin transforming your site from a blank setup into a real website.
A good theme determines your website’s appearance, layout, and user experience.
Free vs Premium Themes:
- Free themes: Great for beginners, but often limited in features.
- Premium themes: Offer advanced customization, dedicated support, and additional functionalities.
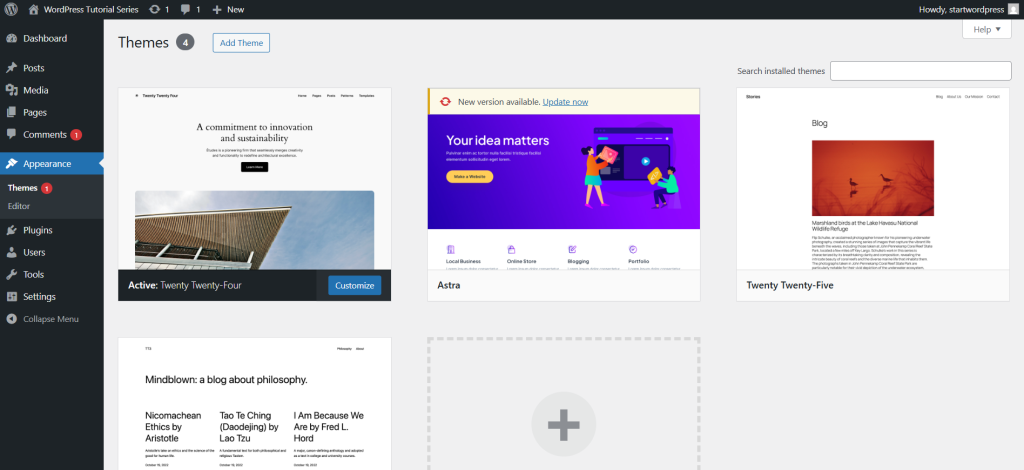
How to Install a Theme:
- Go to Appearance > Themes > Add New in WordPress.
- Search for a theme from the WordPress repository or upload a premium theme ZIP file.
- Click Install and then Activate.
With your theme installed, you’re ready to move on to customization!
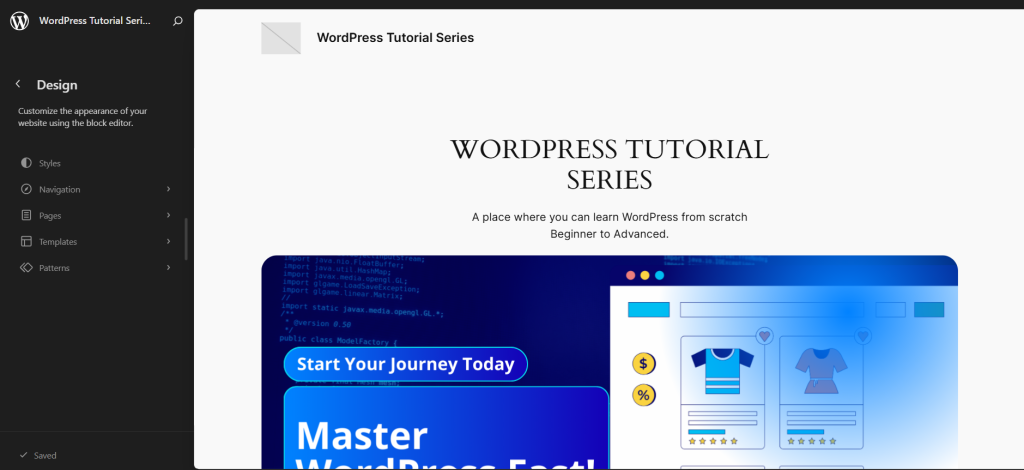
Customizing Your WordPress Site
WordPress has a built-in Customizer that lets you see changes in real-time. Access it via Appearance > Customize.
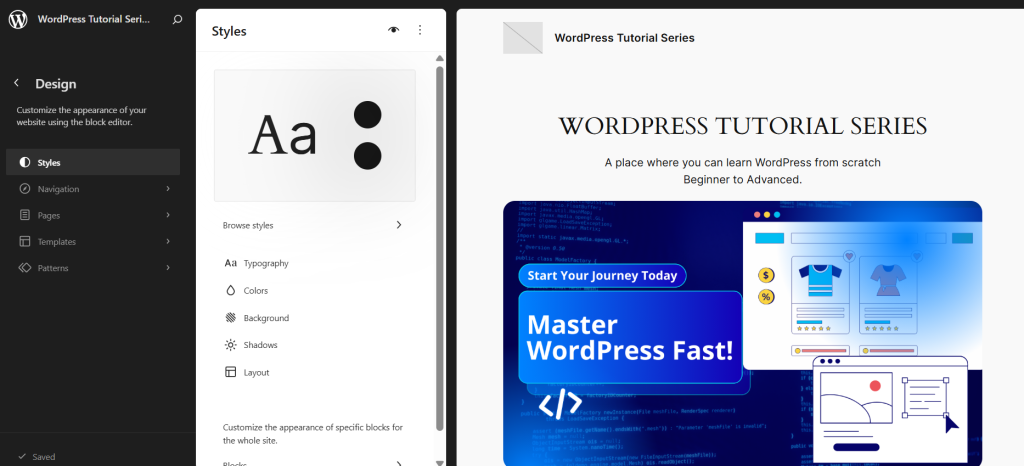
Key Customization Options:
- Site Identity: Upload your logo and favicon, edit site title and tagline.
- Typography: Adjust fonts and sizes for readability.
- Colors and Backgrounds: Set your primary colors and background images.
- Navigation Menus: Create menus and arrange pages, posts, or custom links.
- Widgets: Add content blocks to sidebars or widget-ready areas.
Exploring these options lets you create a site that reflects your brand and engages visitors effectively.
With these steps completed, you now have a fully installed and customized WordPress website, hosted securely on RAKsmart. Next, you’ll be ready to start creating content and expanding your website’s functionality.
Wrapping Up
Congratulations! By now, you’ve successfully set up your WordPress website on RAKsmart hosting, chosen a theme, and customized the basic look of your site. Setting up WordPress doesn’t have to be complicated—it’s easier than you think when you have the right guidance.
In the next part of our series, we’ll dive into creating content for your website and explore how to make your pages and posts engaging for your visitors. Stay tuned and get ready to bring your website to life!
Leave a Reply